


Digital Magic!
Todays first image started out as an acrylic painted background in my handmade journal, which I transformed with a bit of digital magic!
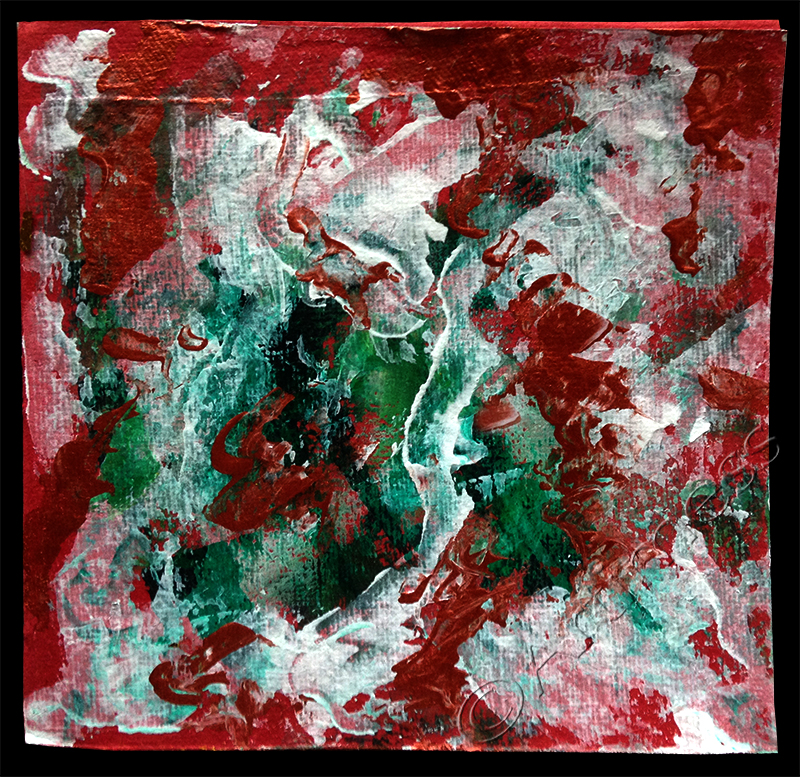
When I first created this, I called it ‘Christmas Background’ because I thought the colours looked very festive…

…then I played digital – adding a digital image of Molly doll and a digital caption to explain why she’s there!
Image two started out as a simple oil pastel drawing.
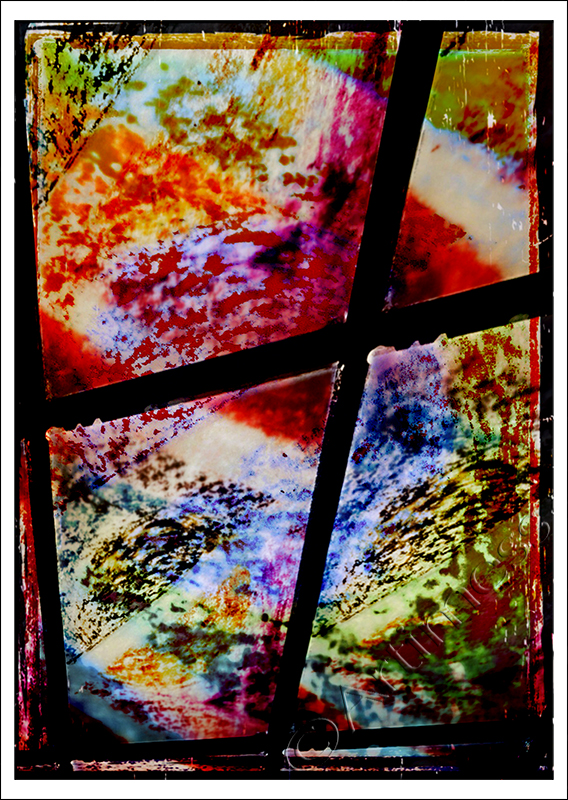
It too fell prey to the digital magic that was in the air and it ended up looking like this!
![]()
Filling the Journal!
I’m slowly filling my recycled journal! If you look closely you can see the fabric strips down the centre of the page marking the end of one signature and the beginning of another.
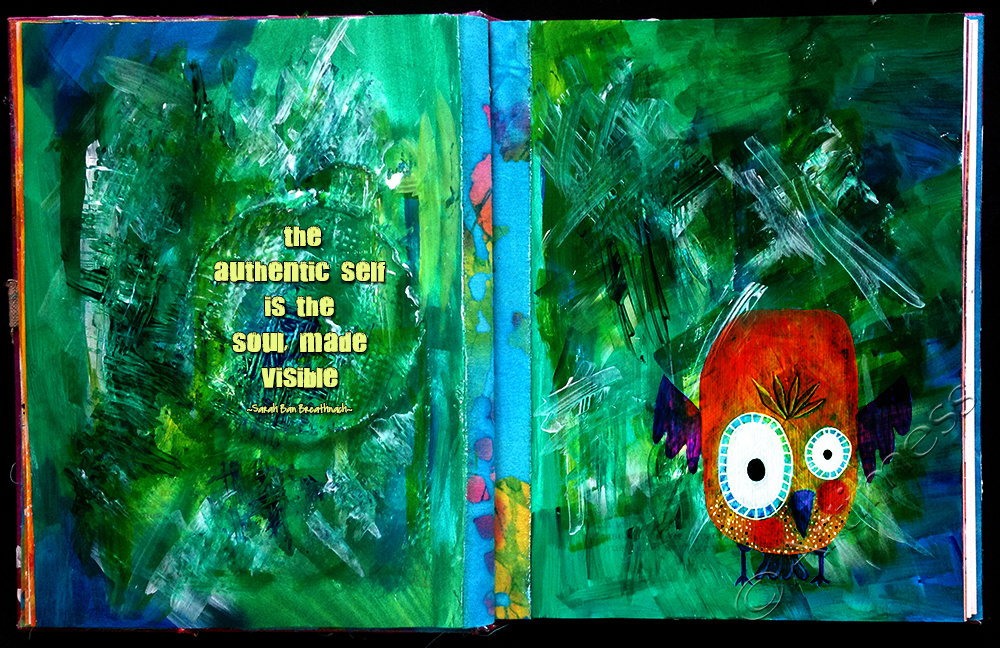
I created the background using acrylic paint in layers and used an old credit card to scrape the final layer on which gave it a more textured look. Some of you may recognise the quirky bird on the right. I originally painted it some time last year, but thought it would look good on this page so I added it digitally and blended it in a bit. Lastly I added the quotation using digital text. I love how the coffee creamer lid shape from the previous page makes a perfect frame for the quotation!
![]()
Therapy Journalling
This morning I woke up with a head full of thoughts related to my personal therapy yesterday which I wanted to record.

I wrote the thoughts on the back of a postcard, then painted the other side using acrylic paint.

To keep my thoughts private, I made this little pocket using scrapbooking paper in my handmade journal.
Then I had a little fit of digital madness!

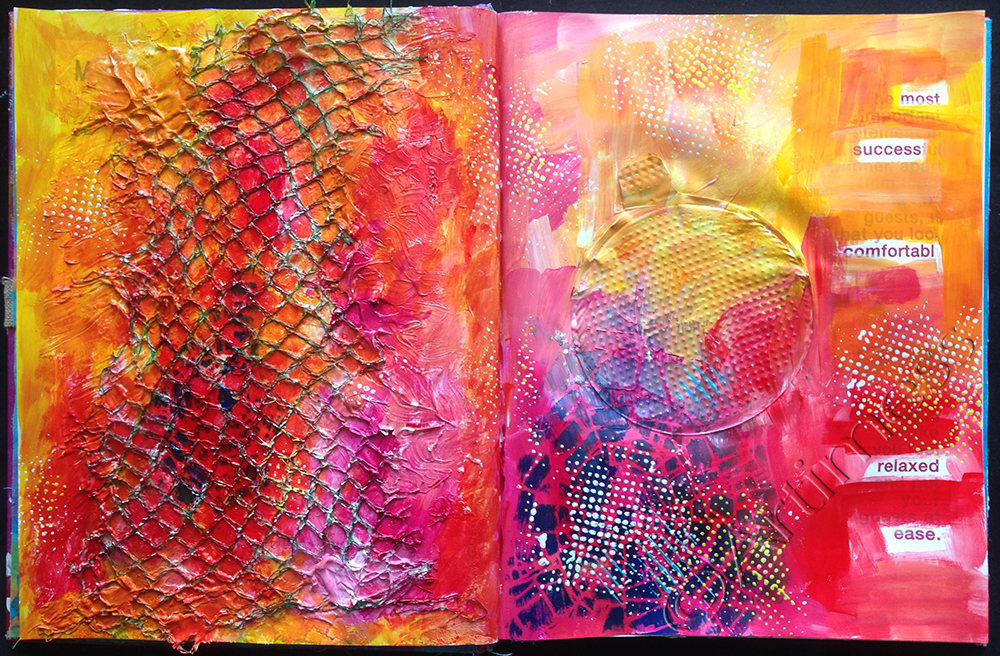
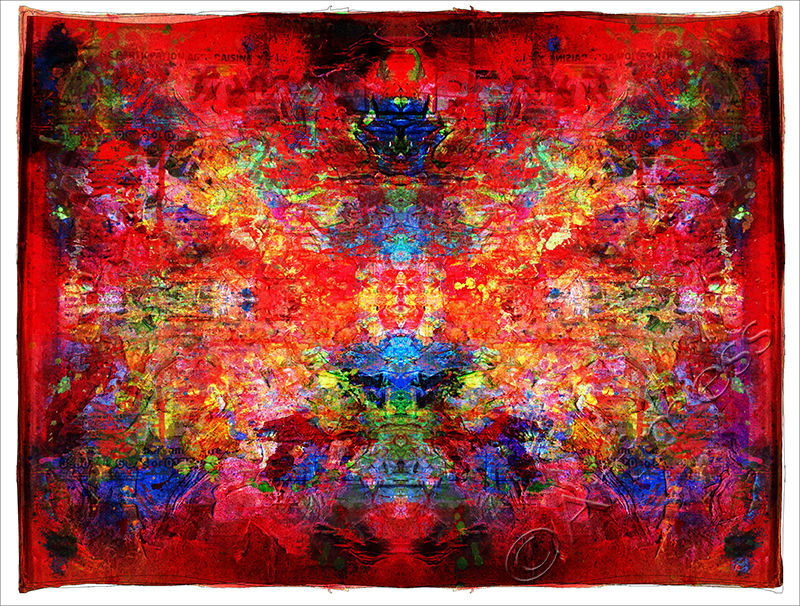
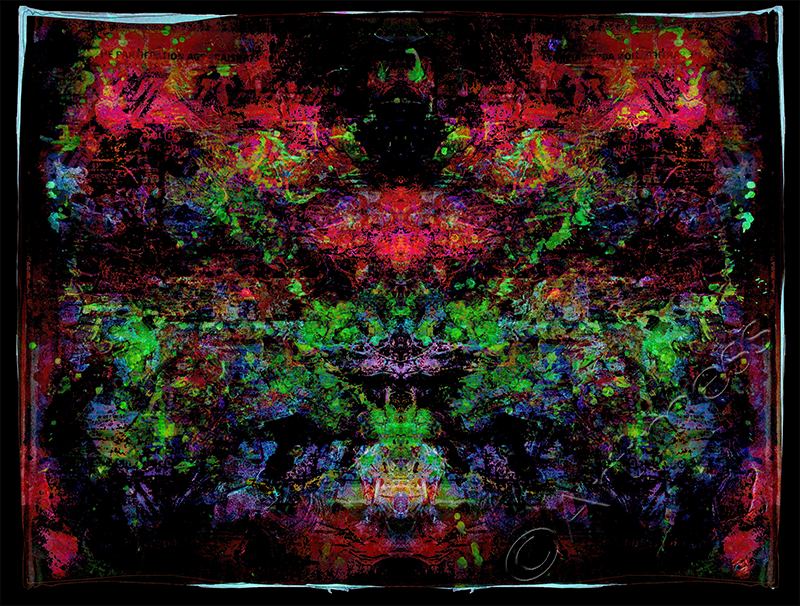
I started out cutting and blending several detail images from the ‘Most Success’ journal page…

…took pieces of the ‘Cut and Blend image and created this Kaleidoscope…

…but I had to have one last fiddle and changed the colour to purple. Which one do you like best? I think I like the first one. It reminds me of the patterns and colours in my kaleidoscope when I was a little girl.
![]()
Journalling Every Day
In a new effort to inject some discipline into my art making, I’ve joined Lani Gerity’s Morning Pages Daily Art Practice eCourse and am attempting to start journalling every day! But as usual with these things, Im already behind with posting the images, so here goes for a catch up.
I started by creating this journal background in my recycled journal using acrylic paint, stencils, a coffee creamer seal, a net bag from the grocery shopping, some molding paste and a few homemade stamps

Next I used a photograph of some of the detail from the background (can you spot it?) and added some digital text to it.

After reading Soul Mate Dolls: Dollmaking as a Healing Art by Noreen Crone-Findlay, I just had to have a go at making one of her paper dolls. I created her using card, fabric scraps, washi tape and wool, added her to the journal background above with a digital face, then added some digital text to the found text.

This last image was created in my handmade journal using leftover acrylic paint, a stencil and some digital text. Watch out for more journalling tomorrow!!
![]()
Inter–connected–ness–
Ever since I can remember I have always believed in the interconnectedness of everything. So when I came across this Pueblo Indian saying in Way of the Doll: Art and Craft of Personal Transformation by Cassandra Light, I couldn’t help but feel a journal page needed to be created.
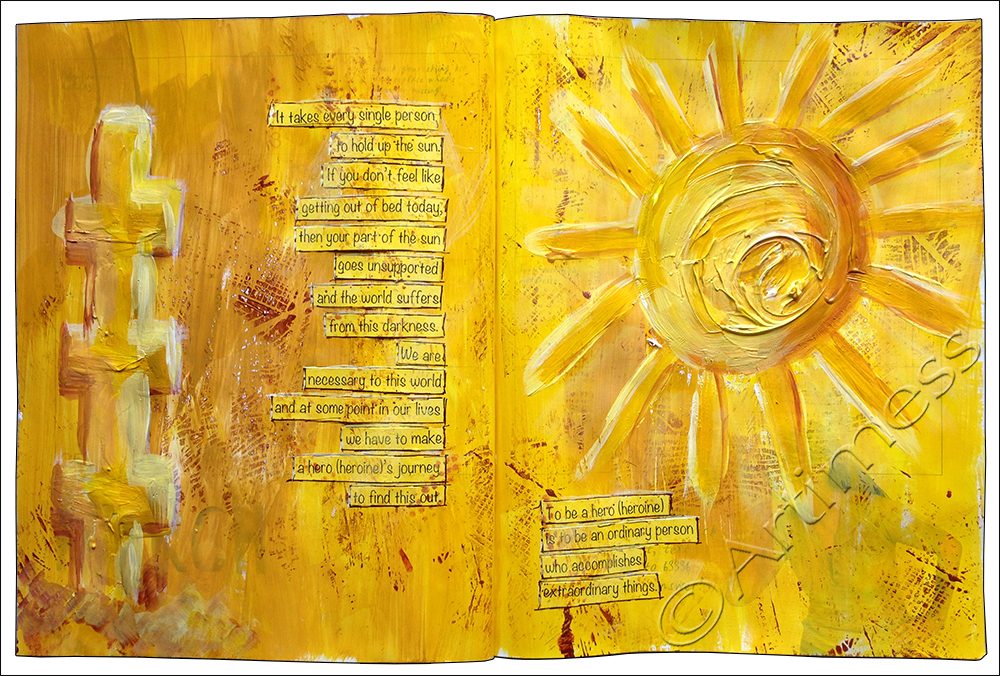
I decided to use my recycled journal, and created this double page spread using acrylic paint, moulding paste and a linocut stamp. I added the quotation by cutting up a digital printout of it, glueing it down then adding paint, stamping and permanent marker to help it to blend into the page. Did I mention that I printed it on yellow paper?
And talking of blending…
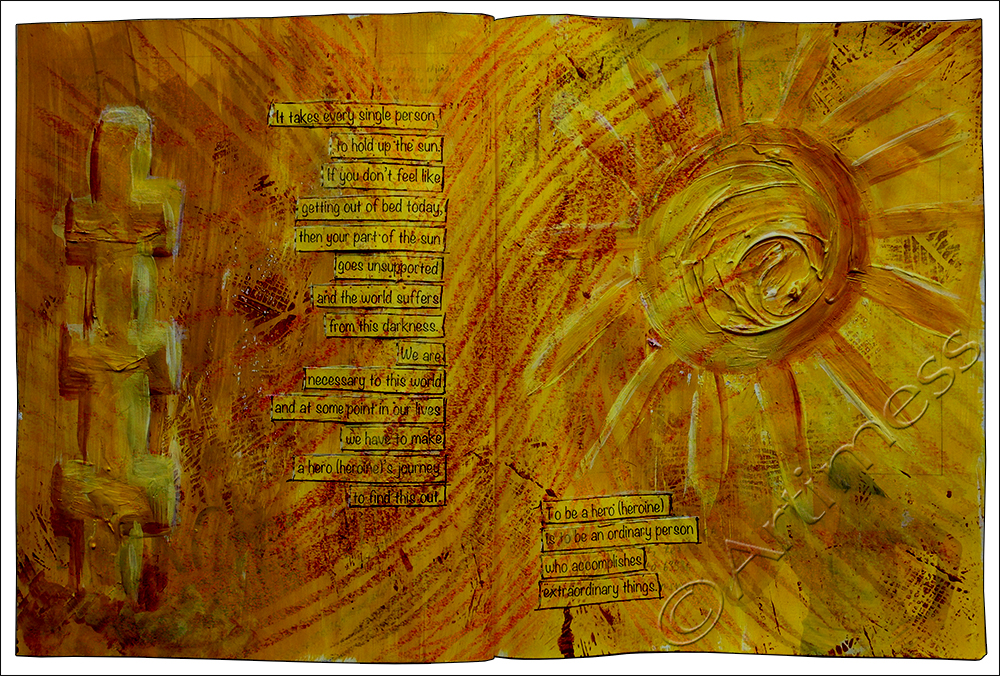
…I just couldn’t resist the digital kind!
![]()
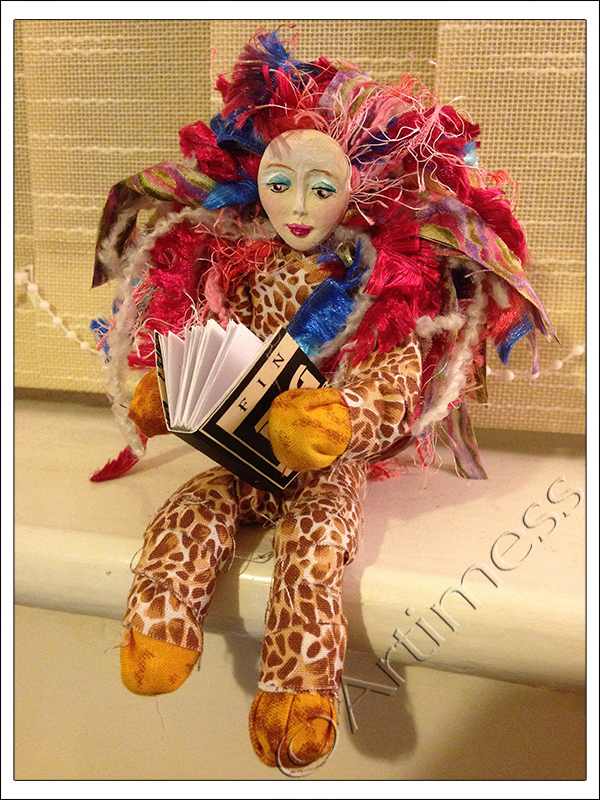
Addicted to Doll Making!
Did I mention that I am becoming addicted to doll making? This one’s taking a bit longer than the others have, and she’s still not quite finished, but I thought you might like to see her anyway.
The pattern came from Elinor Peace Bailey’s book Mother Plays With Dolls … and Finds an Important Key to Unlocking Creativity. It’s a generic pattern which can be adapted to make any number of variations – there are some amazing examples in the book. I stuck pretty much to the basic pattern, but wanted to add some wool hair. I searched online for some tutorials and finished up using a combination of these two tutorials: this one from Gillian Wynn Grimm at Dried Figs and Wooden Spools; and this one from Gillian Austin at Astableulah. I haven’t decided whether to paint or embroider her face, and I may add some other bits and pieces while I’m at it, but I’ll post another picture when she’s finally finished.
In between playing with dolls, I’ve also been playing with paint.
I started off with some recycled cardboard and a double page spread from a newspaper, added some blobs of moulding paste then swirled them about. I added acrylic paint, acrylic ink and spray paint to the mix, then left it all to dry. But that wasn’t the end! After scanning it I had to play digital blending…
…I thought this one was quite nice, but then I thought I’d try inverting the colours…
…and came up with this which I rather like. What do you think?
![]()
Breathing space!
I’ve finally finished handing in my written work for this academic year and have a little bit of breathing space before the next marathon of academic writing begins!! I haven’t done any painting yet, but I have been playing digital and making dolls!
It never ceases to amaze me how many variations it’s possible to create from one image simply by copying and blending.
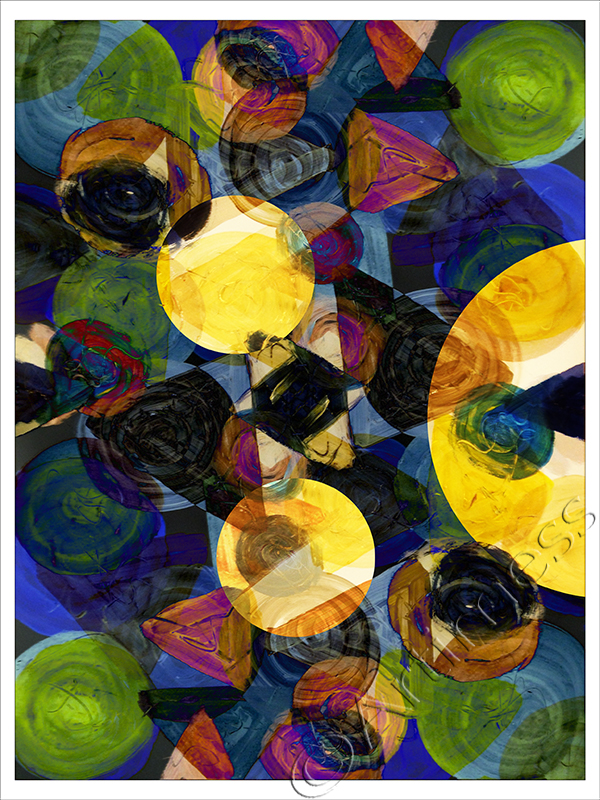
The problem comes with knowing when to stop – tricky one that!! Both these images were created from one original piece of artwork which I played with digitally to achieve more depth and interest.
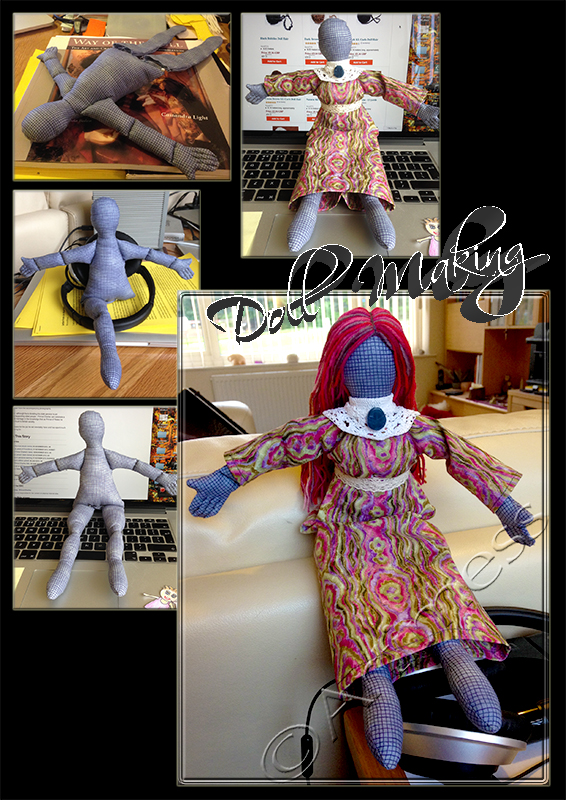
Ever since we had a doll making workshop on the course, I’ve been obsessed with doll making and have been reading about the history and researching well known doll makers. I bought this Art Doll Instructional Zine from Lani Gerity a while ago, and finally managed to have a go at making one of the dolls.
She’s called “Study’s Over” and if you want to know how I made her you’re going to have to splash out $9 to buy the zine from Lani, but I can tell you I used pipe cleaners, fabric, yarn, air drying clay and acrylic paint. She was very simple and great fun to make!
I’m working on some more dolls and am hoping to get the paint out very soon, so keep watching!
![]()
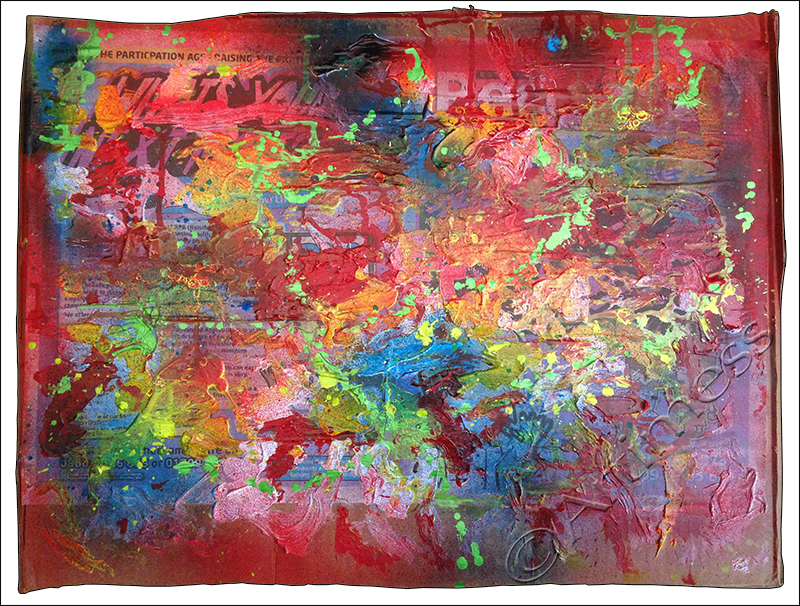
Melt Down!
Still struggling to keep up with my studies – yesterday I had a total meltdown!

I stormed off to my studio and started squeezing paint! This image really doesn’t do justice to the dimensional nature of the finished piece, so I captured these close-ups to show you just how much paint I used!
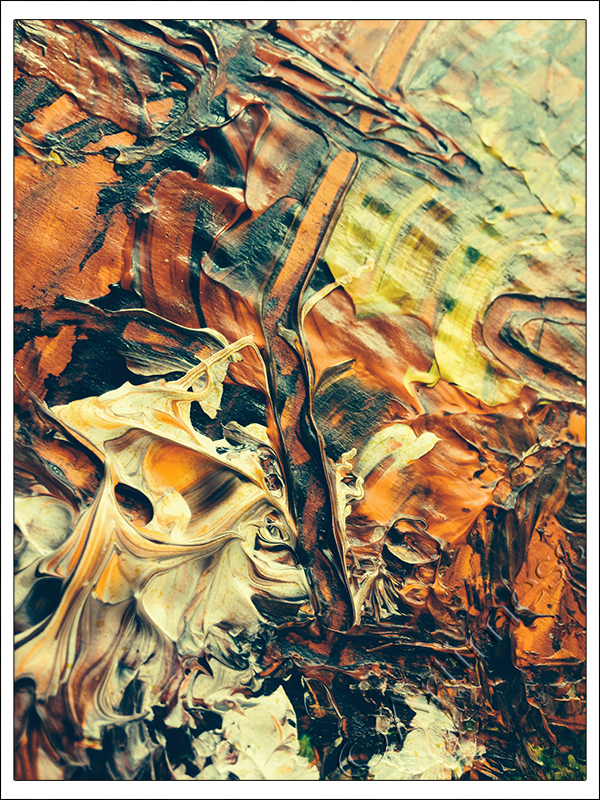
I called this one Faces because I can see a strange looking face in the bottom left corner of the image. Can you see it too?
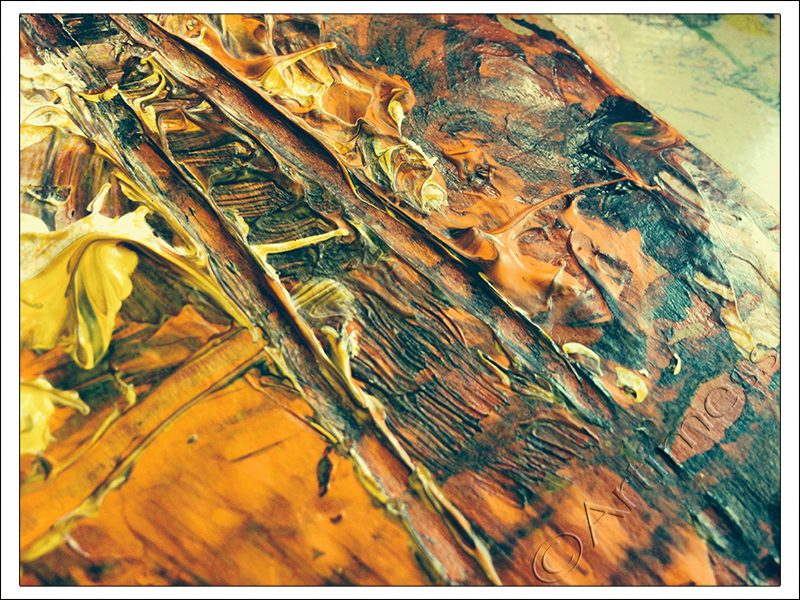
The Tram Tracks in this one were created when I vented some of my frustration using the wrong end of the paint brush!

The Coffee Rings were created using a selection of circular objects pressed into the thick paint.

This one reminds me of a stormy sea – a bit like how I was feeling at the time!
But the exercise worked it’s usual magic. By the time I was done, the feelings had transferred their trauma to the canvas leaving me able to move on.
P.S. I’m still waiting for the paint to finish drying!
![]()
Academic Overload!
I’ve been totally overwhelmed by academic overload of late! But I have been painting … here are some of my latest creations!
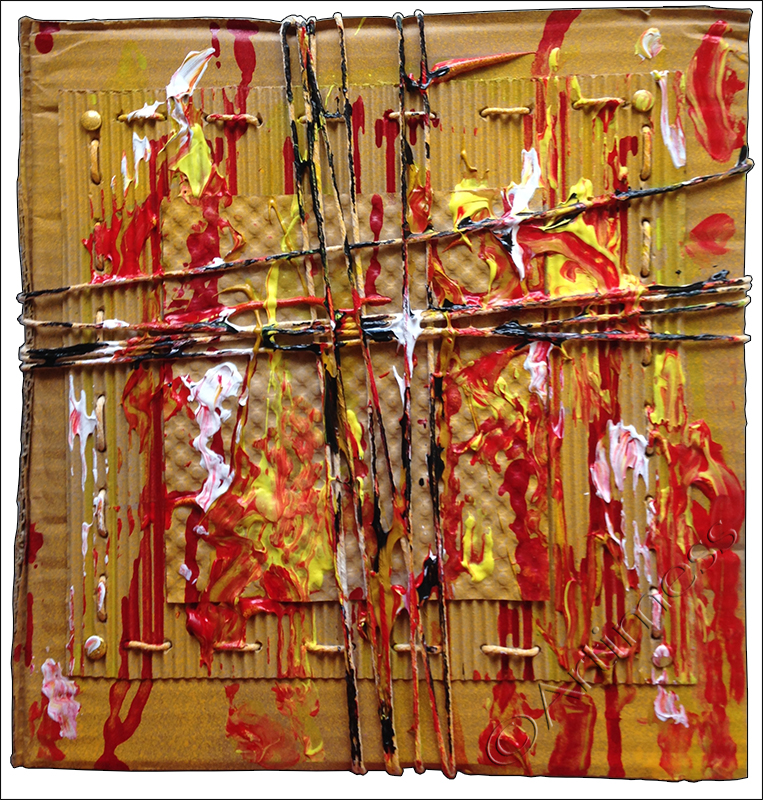
I’ve been using quite a lot of thread and string in my art work recently – a reflection on how I’ve been feeling, perhaps? I created this using recycled cardboard and packaging, string, brads, spray paint and acrylic paint.If you look at the enlarged image you can see how dimensional the paint is!

Some more recycled cardboard and packaging, machine stitched and painted with acrylic paint and acrylic ink using a selection of stencils.I created this piece alongside a stitched postcard that I made for the Great Big Stitched Postcard Swap. I’ll post a picture of the postcard once I know it’s been safely received.

This is my favourite piece. Unlike the other two pieces, this was created in a much more intuitive manner while reflecting on an issue that I am currently dealing with. Like the others it uses a recycled cardboard base, together with acrylic paint and acrylic ink. Which one’s your favourite?
![]()
“Paint, Glorious Paint…”
“Paint, glorious paint…” a slight misquote I grant you – but after a long absence (at least a week!) its so good to be slinging paint again!! Even in my little journal!

The colour’s not very good in the photo, the original is a more peacocky colour! I created it with some acrylic paint, stencils and a bit of spray paint!
Then I went back to my recycled journal to make some more background pages.
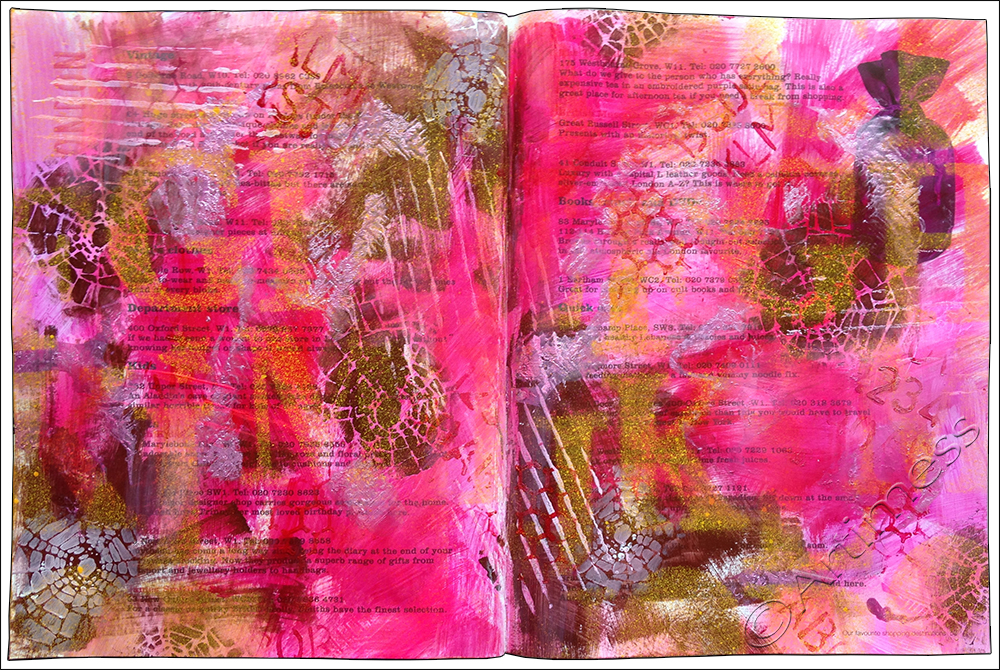
I don’t really like pink… I know girls are supposed to, but I never have! So it was really quite a surprise for me to create such a pink page! I used a lot of different types of paint; acrylic paint, acrylic ink, fluorescent paint, spray paint, a few stencils and a homemade stamp.
I reverted to type and went back to my more usual colour palette.
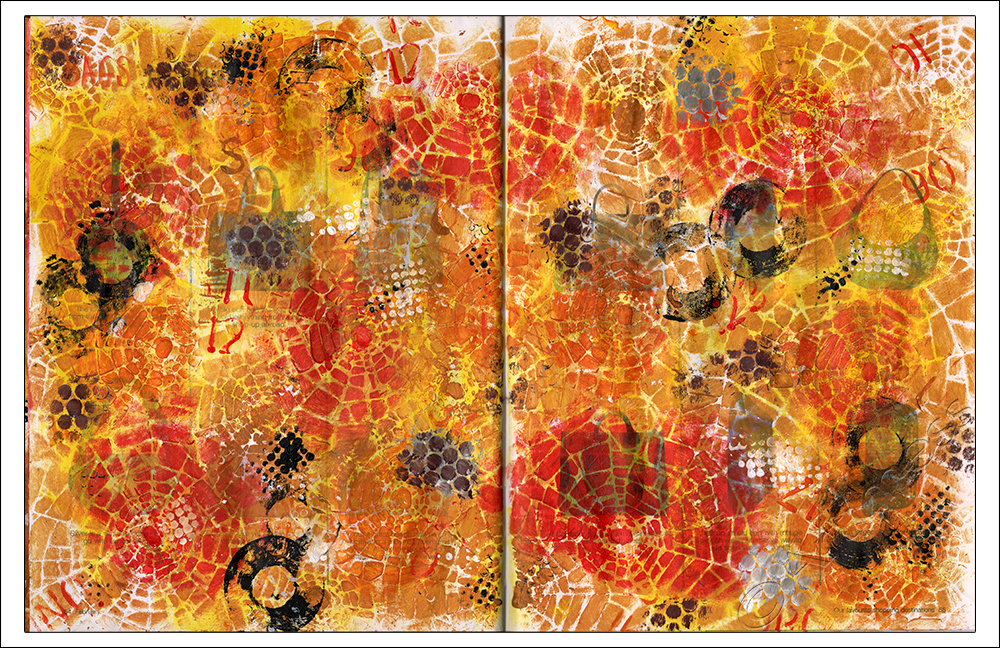
That’s better… Sigh! All that pink… very worrying! I used acrylic paint, stencils and homemade stamps to make this page.
Last but not least, I dug out a piece of recycled cardboard for a change.

I do like working on recycled cardboard – it’s such a forgiving medium. It just sits there and takes whatever you throw at it! In this case it was acrylic paint, spay paint and stencils.
I really think I’m overdue for a Big piece of cardboard. So watch this space!
![]()